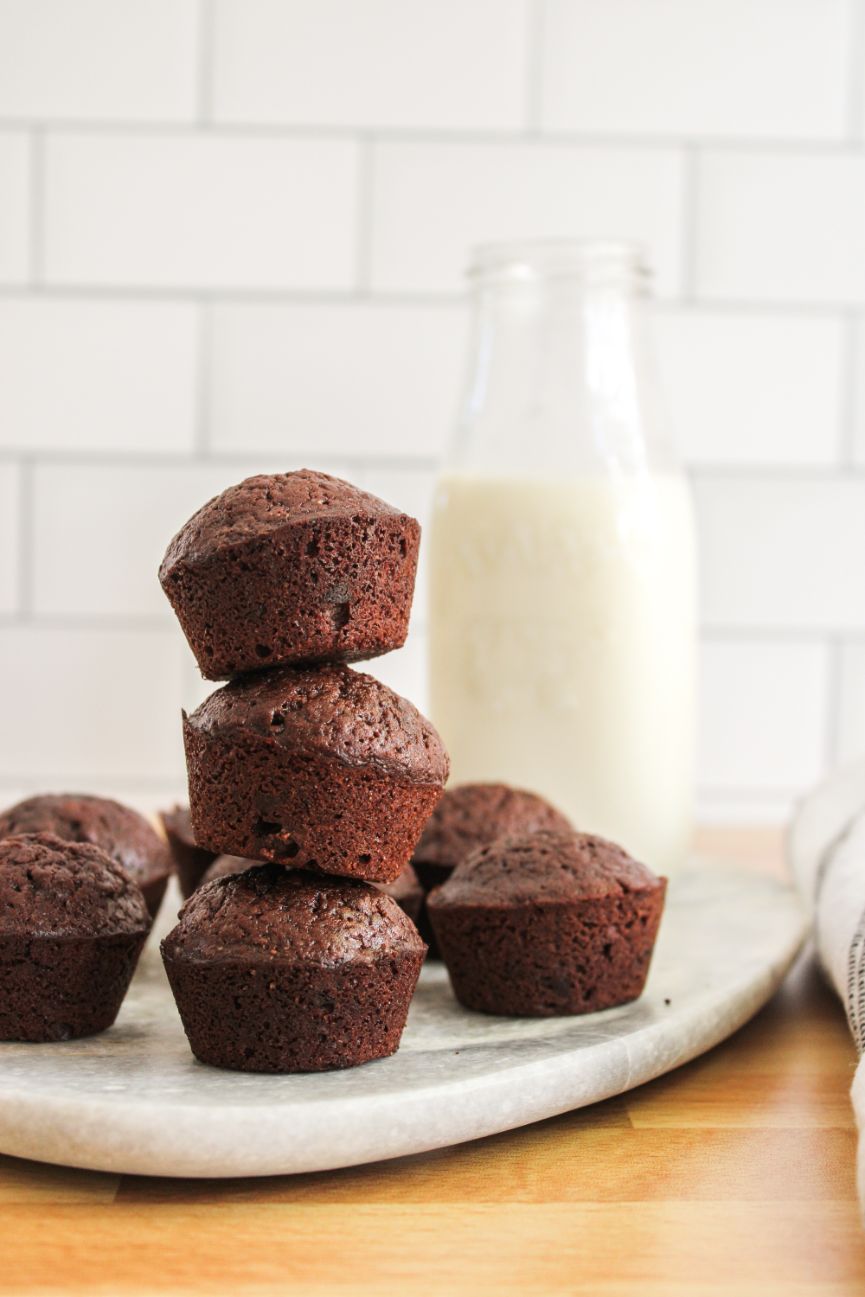
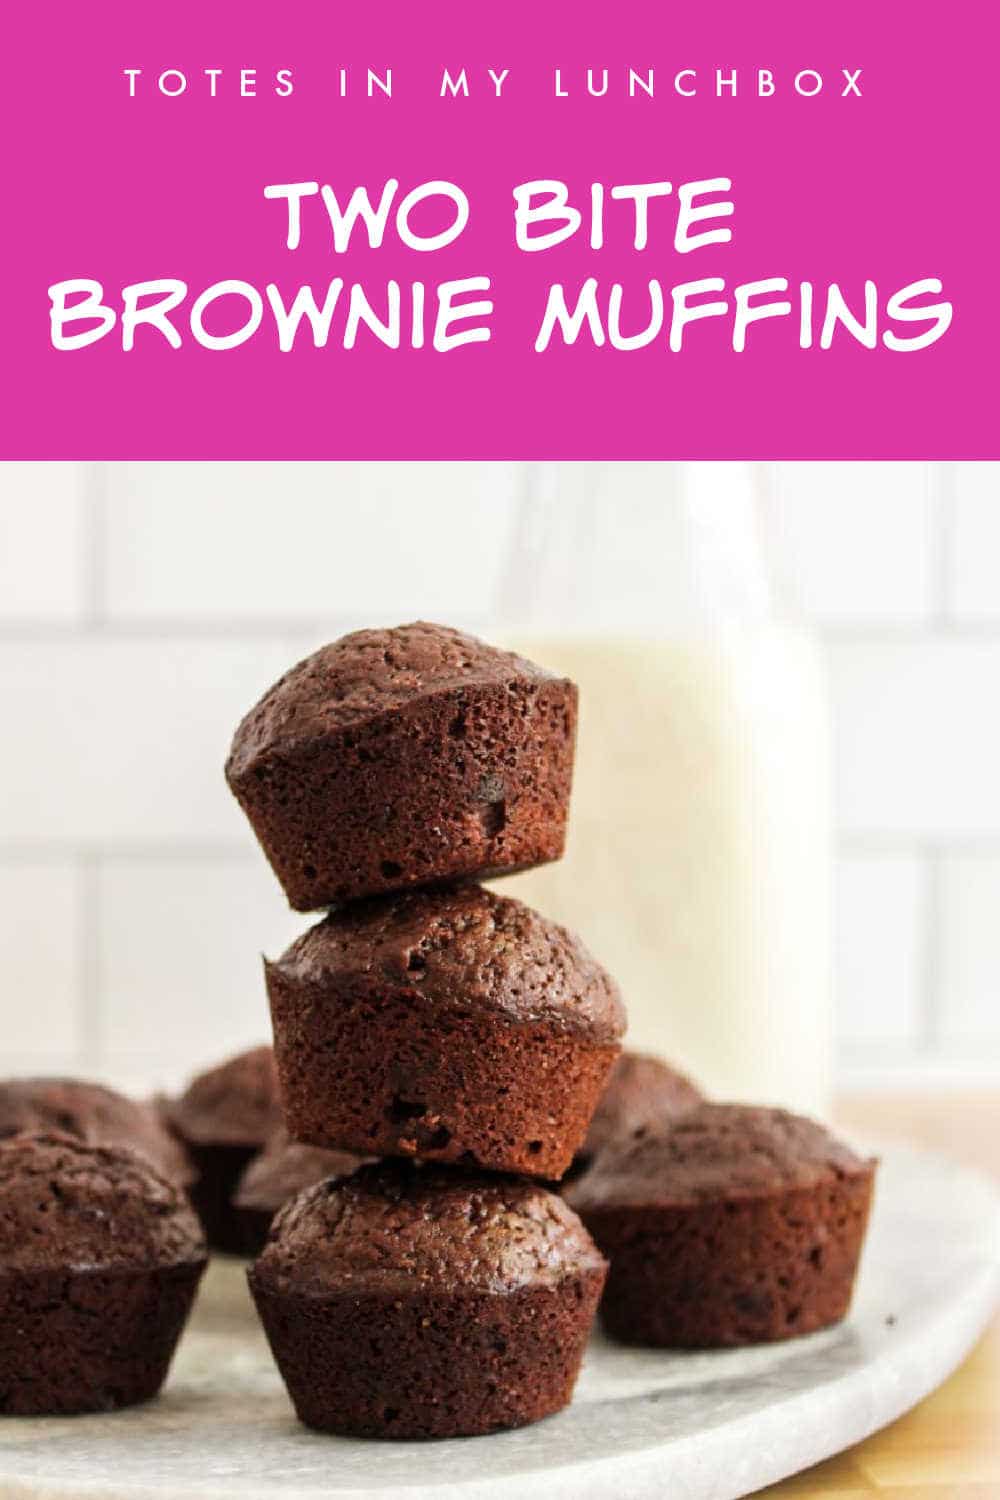
These little chocolate brownie muffins are the perfect addition to lunchboxes. Mini in size, but not in flavor, they pack a punch when it comes to their gooey chocolate center, and make for a great little afternoon treat to look forward to. They are also freezer friendly, which makes them perfect for snack prepping for a busy week ahead.
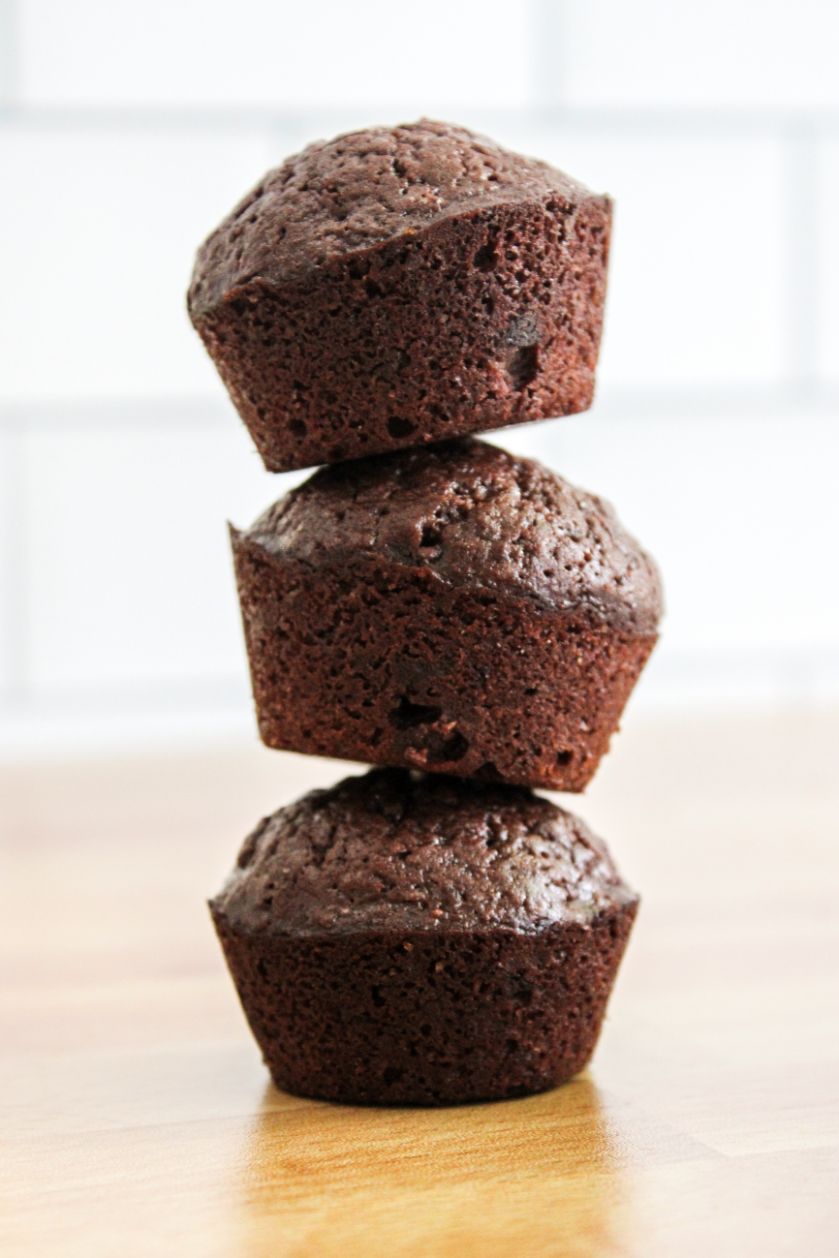
🍫 Chocolate Brownie Muffins
If you love to have a little baked treat in your lunchbox or the lunchbox of someone you love then be sure to check out our baked treats section to get some more delicious inspiration.
I love this recipe because it is:
- Made from simple, pantry and fridge staple ingredients
- Easy to double in volume
- Freezer-friendly
- Tiny in size for a balanced lunchbox treat, perfect for a section in a bento box!
I always make a double batch, have half for the week ahead, and the other half stashed in the freezer as a backup snack when I haven’t had time to prep in advance.
They are also great for road trips when you have to hand back snacks every five minutes and don’t want the mess that comes with kids and a full-size muffin.
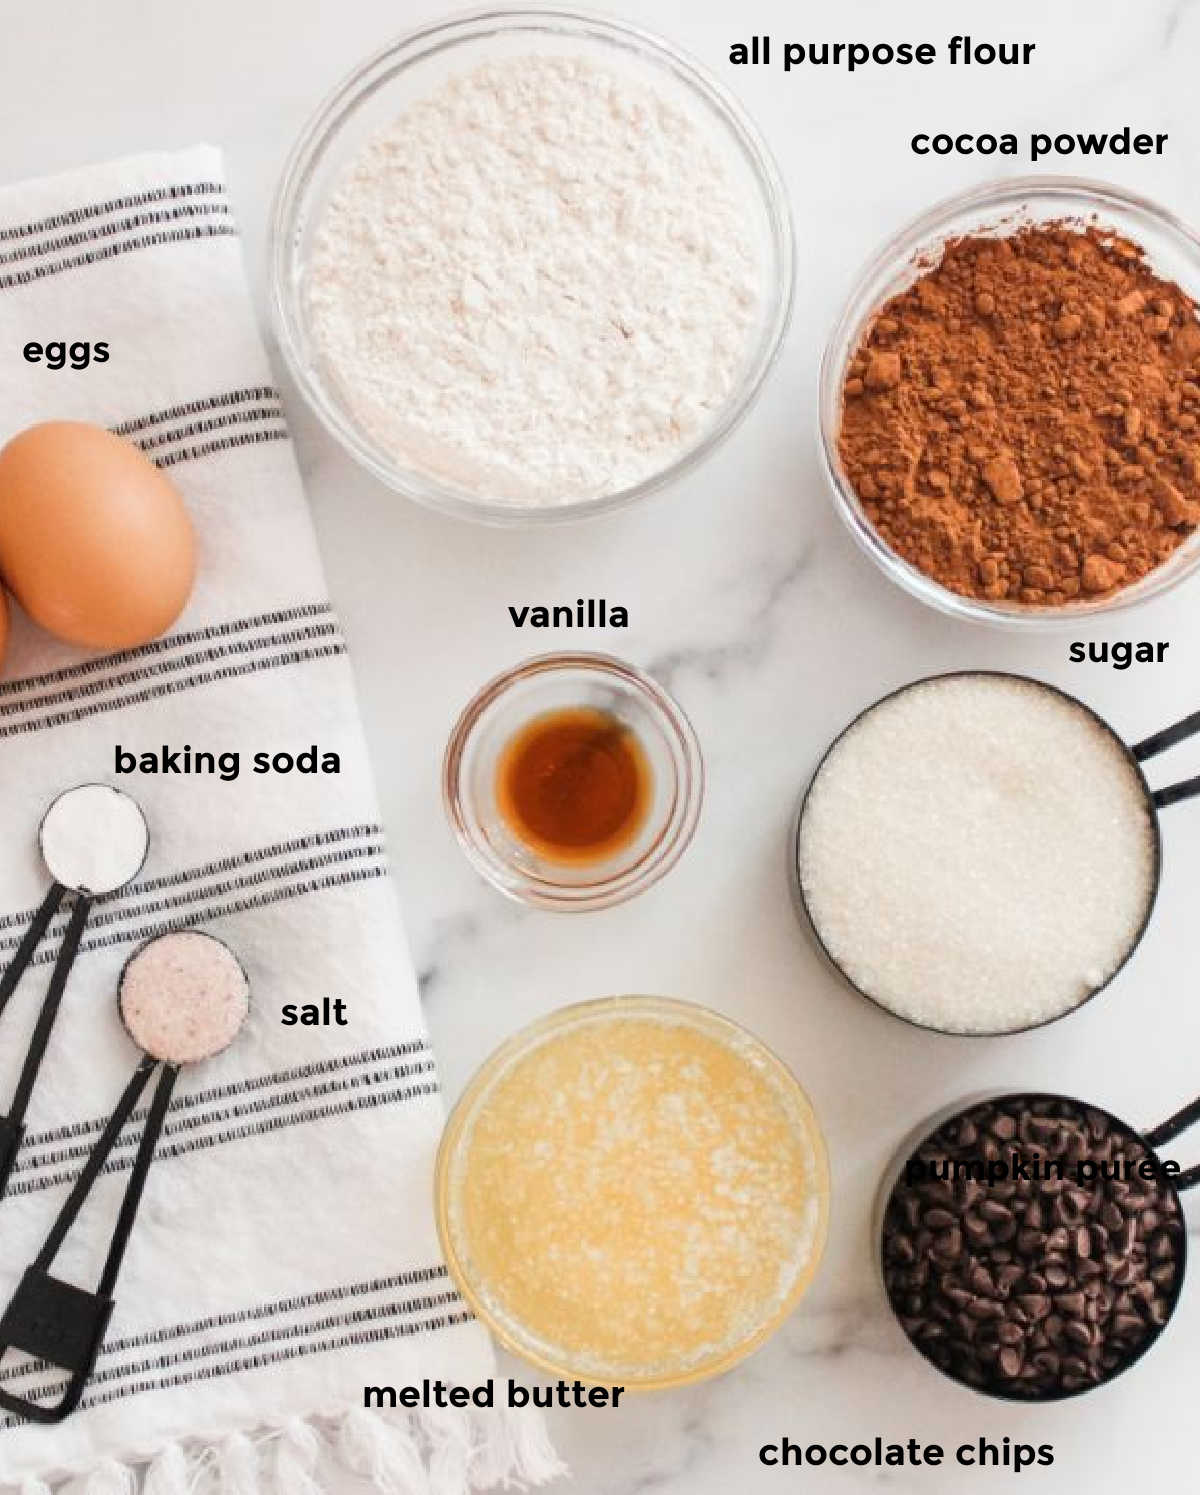
🧂 Ingredients You Need
Only a handful of pantry and fridge staples are required for this easy recipe.
- all-purpose flour (otherwise known as plain flour)
- white sugar
- cocoa powder: you can use sweetened or unsweetened depending on how sweet you like your brownie muffins to be. If you prefer your muffins to be less sweet then you could sub in some cacao powder instead
- baking powder
- salt
- unsalted butter: you will want this to be melted and cooled
- eggs: you will also want these to be at room temperature, so pull them out of the fridge a couple of hours before you intend on making the muffins
- vanilla extract: make sure you are using extract and not vanilla essence
- mini semi-sweet chocolate chips: I use milk chocolate, but white chocolate or dark chocolate would work just as well here. They also work really well with bittersweet chocolate chips if you prefer a bit of a flavor twist. Pick the chocolate flavor that works well for your preferences.
And that's that.
📋 How To Make
Be sure to preheat your oven prior to whipping up the brownie bites. We want it to be completely preheated before popping the muffins in there.
Also, be sure to grease the muffin pan with a nonstick spray or some melted butter or coconut oil to prevent the batter from sticking to the pan. You can use muffin liners if you have mini ones. I like to use silicone liners as they are reusable and it is easier to remove the brownie bites without chocolate sticking to the sides than paper liners.
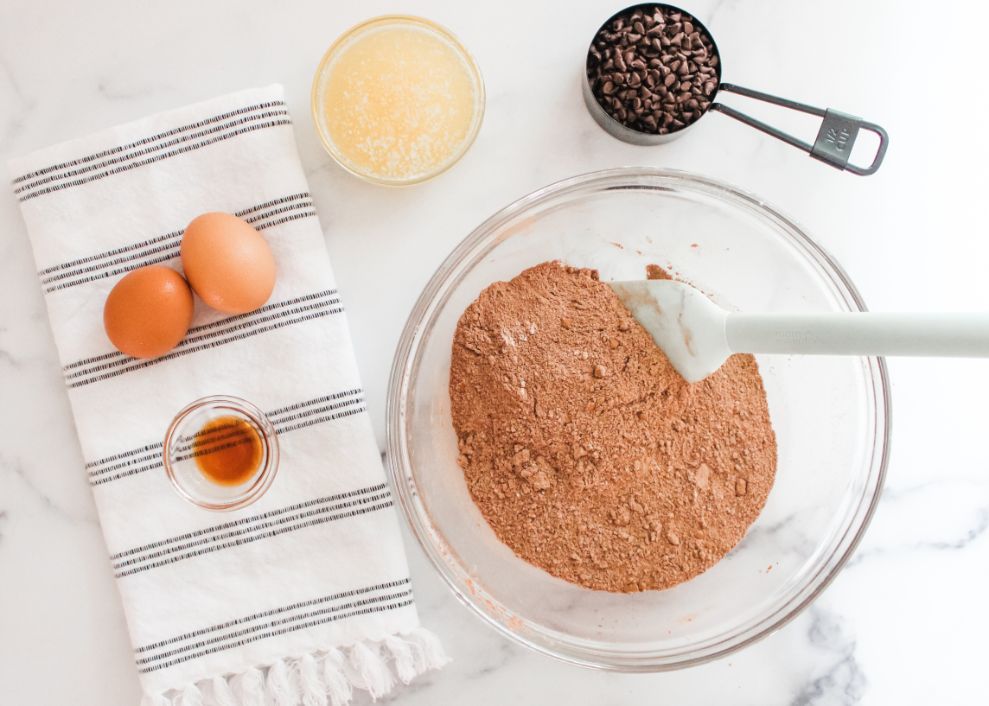
Simply combine all of your dry ingredients in a large bowl. This is your flour, sugar, cocoa powder, baking powder, and salt.
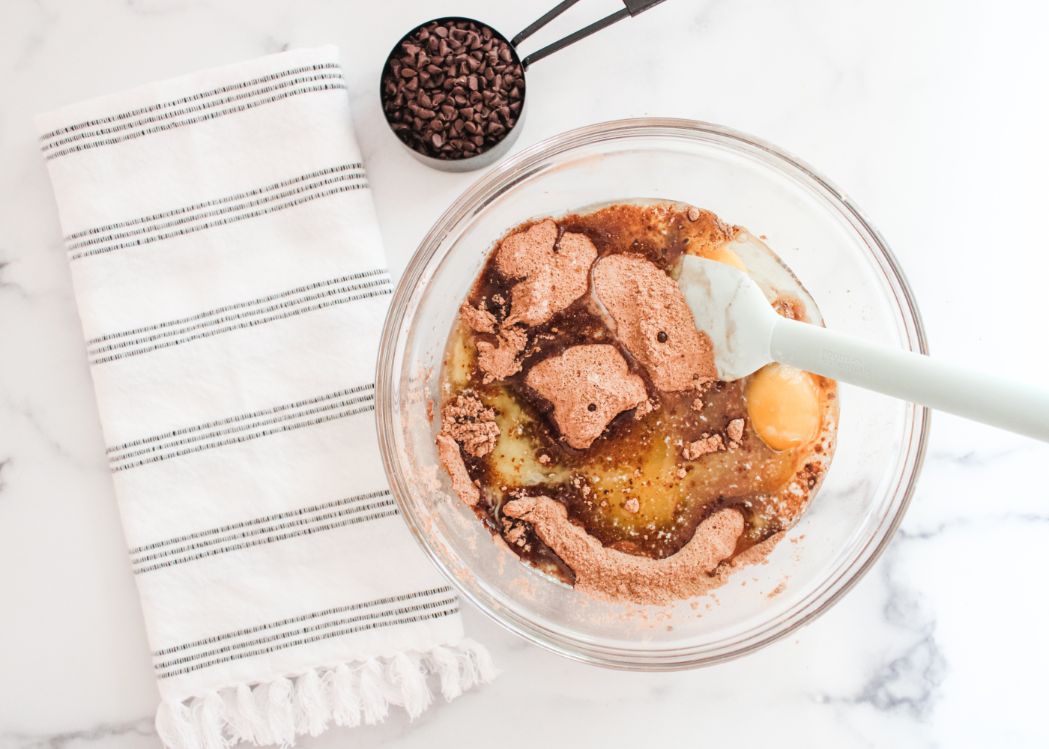
You then want to add in the wet ingredients, so this is your melted butter, eggs, and vanilla extract. Give everything a really good mix to ensure it is well combined. You can do this by hand with a spatula or wooden spoon, or using a stand mixer.
Use a spoon or a cookie scoop to divide the batter into the cups of the muffin pan so they are about ¾ of the way full. Do not overfill, as the muffins will rise as they bake, and we do not want the muffin tops sticking to the top of the muffin pan.
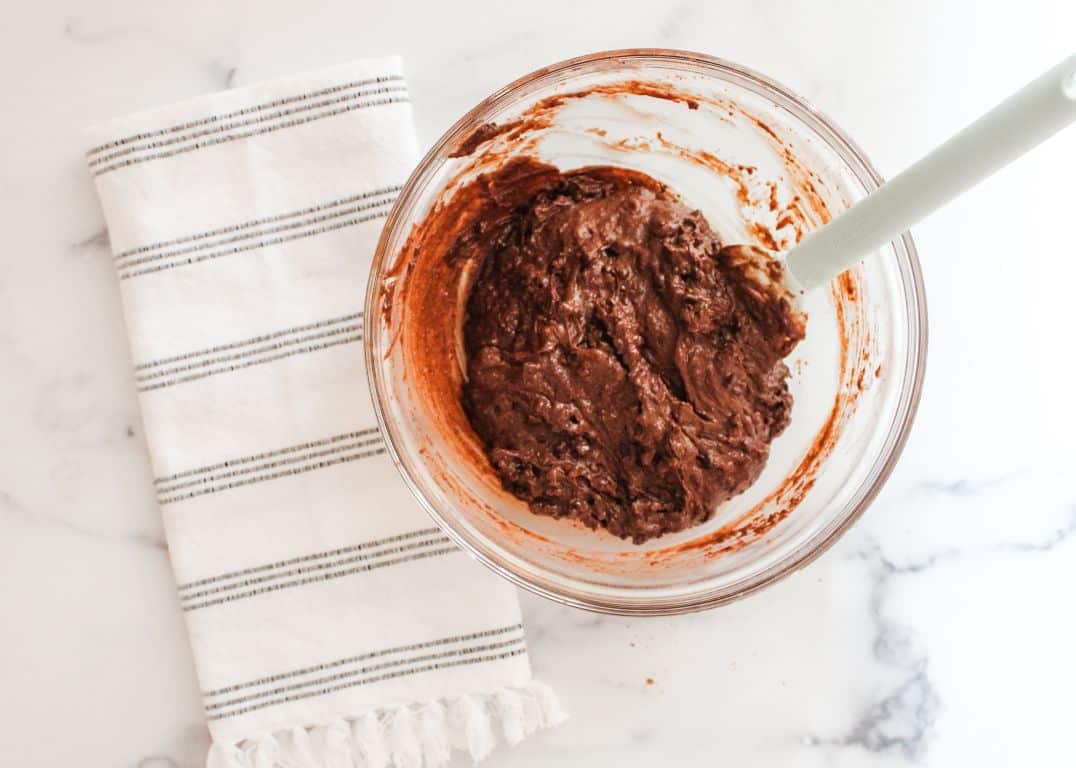
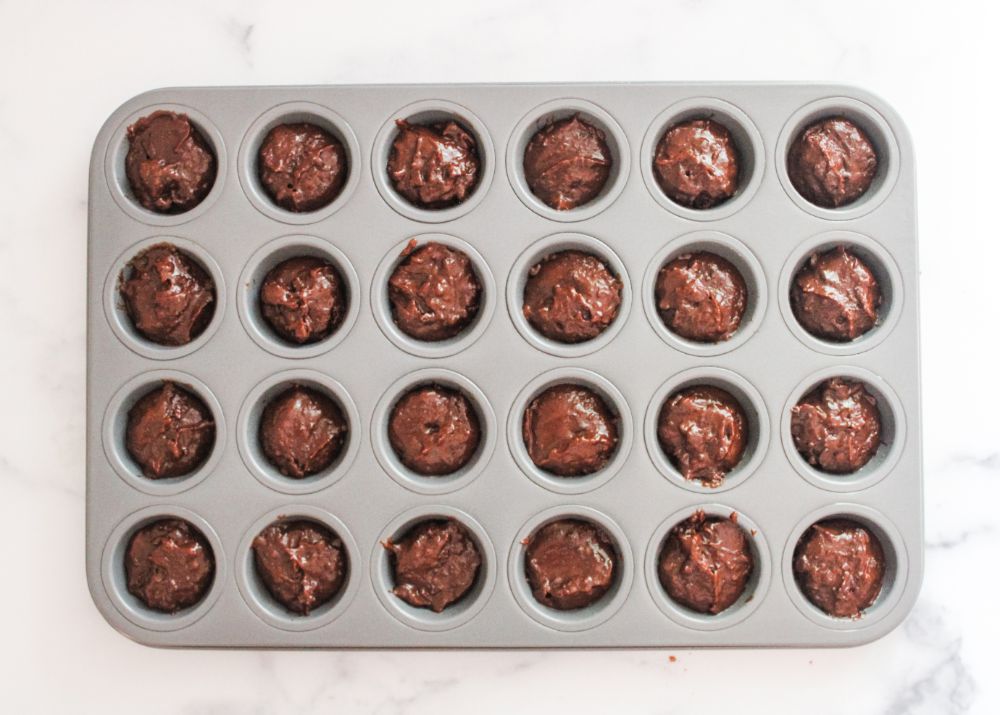
They will need to be baked for 9-11 minutes depending on how you like your muffins. If you want them gooey, and more like fudge brownies, then remove them from the oven at 9 minutes. If you prefer them more well done then leave them in there for the full 11 minutes.
To test for doneness use a skewer to poke into the center of a muffin. If it removes cleanly, the muffin is ready, if there is still some wet batter on there, you may want to pop them back into the oven for a bit. Please note that they may come out with some melted chocolate from the chocolate chips on there.
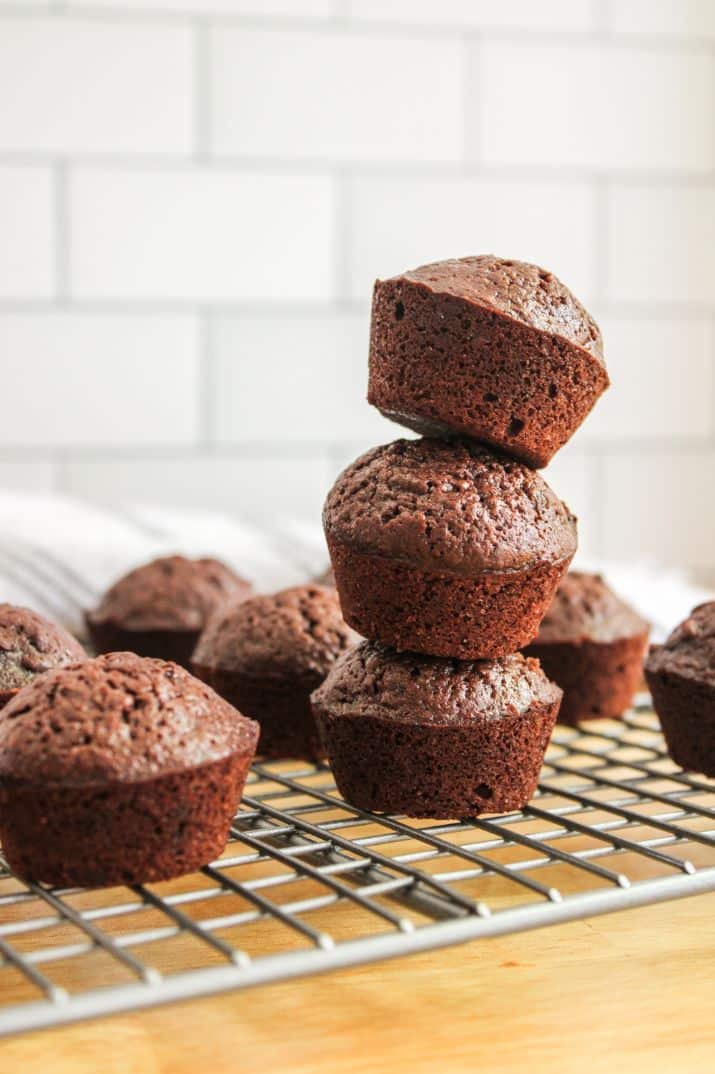
Allow them to sit for a couple of minutes before transferring them to a wire rack. You can serve them warm, or allow them to cool completely before serving.
Brownie muffins should be allowed to cool completely before being stored, or you risk them sweating inside the storage container, which will cause them to become soggy.
💭 Important Teaching Tips
If you do not have mini chocolate chips you could instead use regular chocolate chips, simply crush them in a Ziplock bag or other plastic bag with a rolling pin until smaller in size.
If you do not have a mini muffin tin then you can make regular-sized brownie muffins. Simply fill the regular-sized muffin pan about halfway.
You will also need to adjust the baking time.
Allow muffins to cool completely before storing.
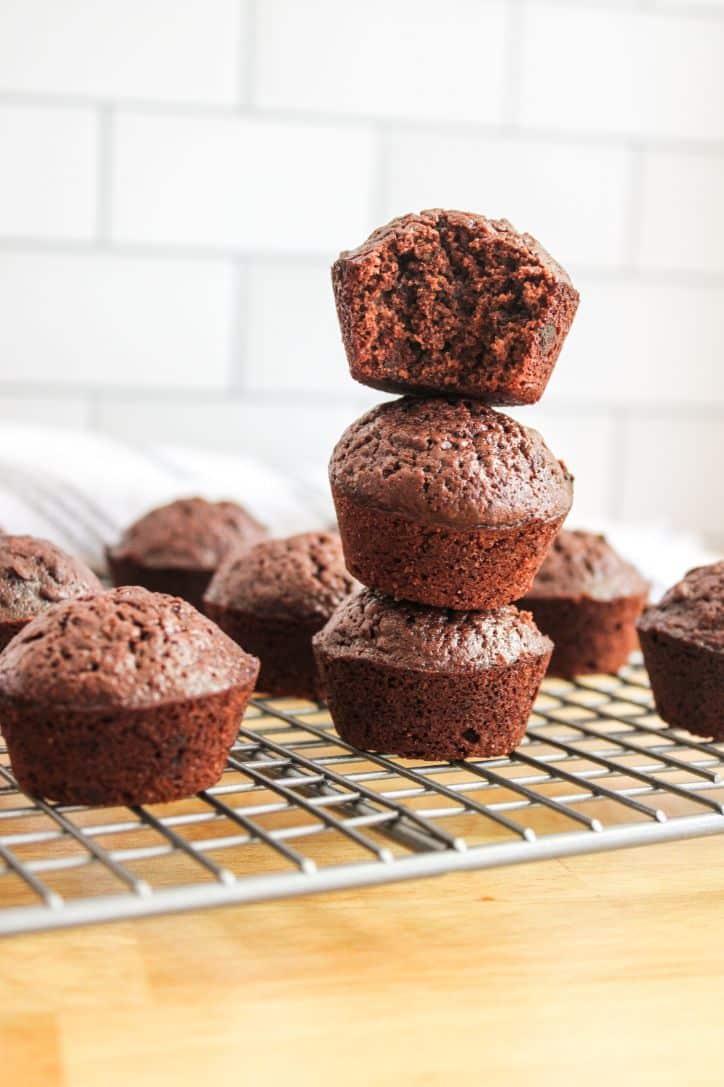
They should be stored at room temperature for about 3 days if you would like them to retain their brownie texture. They can also be stored in the fridge, however, they may lose some of their moisture, and become more muffin than brownie in texture.
🥢 Useful Products
Use muffin liners if you do not wish to grease the pan. I use silicone muffin liners (affiliate link) as I find them a lot easier to clean, and I love that they are reusable. They are also great for packing bento boxes, especially for small, fiddly ingredients.
I use these ones:
My Fav Muffin Liners
 Buy Now →
(affiliate link)
🍽 Serving Suggestions
Chocolate fudge brownie muffins can be served warm straight from the oven with a big glass of milk or allowed to cool and packed into lunchboxes for a nice, sweet afternoon treat.
They are also great served with ice cream or a drizzle of chocolate sauce.
Packed in a lunchbox I pair with some Deli Style Macaroni Pasta Salad With Egg, fresh fruit, a handful of nuts and a granola bar.
👪 Frequently Asked Questions
Yes, these muffins freeze well. Simply freeze on a plate or baking tray, and transfer to a Ziplock bag, or freezer-friendly container once frozen. This will prevent them from sticking together and make it easier to remove just one or two from the freezer at a time.
I use semi-sweet mini milk chocolate chips. You can also use sweet chocolate chips if that is what you prefer. Mini white chocolate and dark chocolate chips also work well here. If you only have large or regular-sized chocolate chips, simply pop them into a Ziplock bag and hit them with a rolling pin to make them smaller in size.
🥣 Other recipes you might like
If you enjoyed these decadent brownie muffins then you might want to try one of these recipes next:
- Peanut Butter Choc Chip Banana Oatmeal Muffins
- Brown Butter Apple Spice Muffins
- Bakery Style Lemon Poppy Seed Muffins
- Dark Chocolate Orange Muffins with Orange Glaze
- Banana Biscoff Muffins
Ultimate Two Bite Brownie Muffins
Materials
- ¾ cup all-purpose flour (plain flour)
- 1 cup white sugar
- ¾ cup cocoa powder either sweetened or unsweetened
- ½ teaspoon baking powder
- 1 teaspoon salt
- ½ cup unsalted butter melted and cooled slightly
- 2 eggs at room temperature
- 1 teaspoon vanilla extract
- ½ cup mini semi-sweet chocolate chips
Instructions
- Preheat the oven to 350F (175C) and grease a mini muffin pan with non-stick cooking spray or melted butter. Set aside until needed.
- In a large mixing bowl use a whisk to combine the flour, sugar, cocoa powder, baking powder, and salt.¾ cup all-purpose flour, 1 cup white sugar, ¾ cup cocoa powder, ½ teaspoon baking powder, 1 teaspoon salt
- Add the butter, eggs, and vanilla extract and mix well until completely combined. This can also be done in a stand mixer if preferred. Add in the chocolate chips and gently fold through.½ cup unsalted butter, 2 eggs, 1 teaspoon vanilla extract, ½ cup mini semi-sweet chocolate chips
- Use a spoon or a cookie scoop to fill the cups of the muffin pan up about ¾ of the way full.
- Bake in the oven for 9-11 minutes. Remove at 9 minutes if you prefer a gooey brownie-like muffin, or remove at 11 minutes if you prefer it to be more muffin-like.
- Transfer to a wire rack to cool.
Notes
Nutrition





Agnieszka
These muffins were sooo chocolatey! My kids absolutely loved them.
admin
So happy to hear that Agnieszka!
Farrah
I tried this with an ice cream on top and it was delicious. The gooey center is just the right amount of indulgence. Yum! Adding this recipe to my favorites.
Vladka
I used regular-sized brownie muffins and kept them in the oven for 15 minutes. They came out great.
Gwen
These were really good. I subbed a gluten free all purpose flour for the regular flour and we gobbled these up really fast!
Angela
They are so easy to make and are the ultimate crowd-pleaser, I made this for a party! I highly recommend this recipe
Belle
It was so soft and I really loved the gooey center! Definitely making more this weekend!
Abbey
These are great for when you want a late night treat!